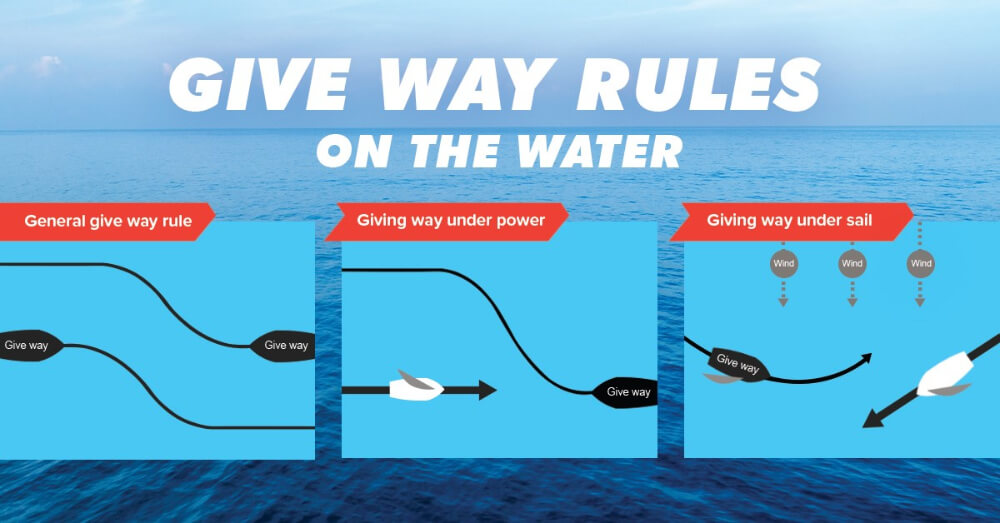
Knowing which side to pass another boat is one of the most important rules of the sea.
Navigation 101
So, the boat’s ready, engine checks completed, safety gear onboard. Kids are
bundled in and you’ve enough food and water to feed an army. Hold on, what about the passage plan? What? We’re only going fishing and it’s flat calm out there…
It’s all in the planning.
Conditions are perfect now. However, in six hours when the sea breeze has sprung up and the ebbing tide is creating breaking, standing waves that can threaten to broach or swamp a small craft, getting home is not so straight forward. This is not the time to start a passage plan!
The basics of navigation are not complicated and it only takes a little knowledge, time and basic planning (20-30 minutes for most day trips should cover it, with practice).
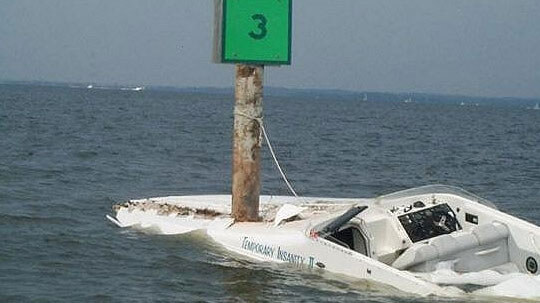
Yep I found the channel marker okay.
It’s worth breaking down the process that some may already be doing unconsciously. If we make a conscious effort to complete these elements, then it’s not likely we’ve missed anything (like a pre-departure checklist for safety gear).
Appraisal
Where are you heading? And where are you planning to stop?
Consider your start and finishing points and whether there are any ‘gates’ along the way that need to be reached at certain times. An example would be a bar crossing, at slack high water. Narrow channels like French Pass require good planning and timing along with consideration of likely wind against tide conditions.
Port Hand mark
What tools do you have?
There are many tools available to help with your planning. The most basic is of course a chart, but then there are tools available online or via a screen. This might be satellite imagery, a weather forecast, or tidal information.
Browse online or via books, cruising guides, local club information,
harbourmaster directions, local council bylaws (these give information on usage zones, speed limits and compulsory radio call up zones), almanac, and pilotage books. And of course, never underestimate local knowledge.
South Cardinal mark
Planning
When are you heading out and how are you getting there? Now you have all the relevant information, it’s time to develop a plan:
Identify hazards – what are the no-go areas?
What are your margins of safety (for example, “we plan to stay 1 nautical mile (1852m) off the coast”) – how do you identify this? It may be a simple depth contour that you follow.
Knowing the minimum/maximum depths you should encounter will help affirm you’re where you planned to be.
Tidal streams on route – will it help or hinder you as well as affect sea state and hence boat speed.
What navigation markers/lights/headlands are you going to encounter? A quick and easy sketch with hazards and route can help when out in the wind and rain.
West Cardinal mark
Knowing where you are at all times, in reference to a landmark is essential. This is how you could direct Search and Rescue to you in the event of an emergency. Always reference the distance and direction from a known point, e.g. 1 nautical miles NW of Snapper Point. Detailed Lat/Long coordinates can follow later if there is time.
If things don’t go to plan, what are alternatives? Consider your refuge ports/anchorages that can be used. Are you confident and have a plan on how to get in there if conditions change for the worst?
If using electronic navigation aids, place your waypoints and check, check, check! Always zoom in all along the route to check that it’s not taking you through or too close to a hazard. It takes seconds to double check.
Make planning part of the preparation excitement. Take your time. Enjoy the moment of getting familiar with your planned adventure. Spend time in the comfort and warmth of your home, using a chart or passage planning software, then transfer it to your onboard electronics when you’re happy.
Once you know distance, speed, ETA, fuel can be worked out and ensure you have sufficient for the trip plus at least 1/3 reserve (for alternate plans/change in conditions). Think, 1/3 out, 1/3 back and 1/3 reserve.
Executing
You’ve done the work by this point. You’ve planned the sail, now sail the plan!
Never rely on one form of navigation. Using sight, hearing and all available means, is the mantra. Visual transits, bearings, depths, waypoints, lead lights, 3-point fix, range rings off a radar. Use them all.
Try to run by the assumption that if you can’t disprove where you think you are, then you’re probably where you should be.
Don’t let electronic navigation lull you into a false sense of security. They’re good but they’re not fail-safe. Remember that boats still hit rocks, and it’s usually because of over-reliance on one form of navigation and not trying to disprove what it tells you. Be critical, keep alert!
Remember the humble compass?
This is still an essential piece of navigational equipment! During the middle of the night whilst attempting to anchor, with the wind blowing, and rain creating zero visibility a chart plotter is essentially useless (it will tell you where you are but not help orientate you).
East Cardinal mark
The trusty compass will be there for you. Once anchored, always make a note of the compass heading to get to safe water if needed in the night, and back it up with a waypoint in clear water also – a bit of preparation to buy you time if you need it.
4. Monitoring
How are you doing? Those sailors amongst you will appreciate that the above statement (sail the plan) is rarely true. The wind normally has other ideas!
Weather conditions change, altering course and speed. Be sure to consider whether these changes are altering your distance from hazards? Update the plan as required, ensure everybody knows and continue to monitor.
Waypoints will give you a Distance To Go (DTG) and Cross Track Error (XTE).
Use XTE to plan in a safety margin, either on paper or electronic charts. Try to get yourself into a confident situation where you can look out of the boat, not at a screen!
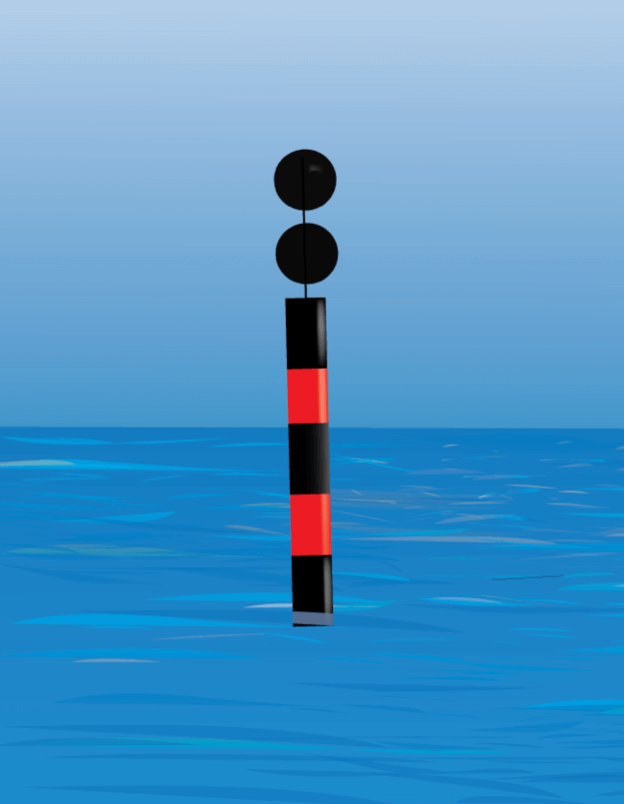
Isolated Danger mark - These marks are placed on, or near to a small area of danger that has navigable water all around it.
Combine this information with depth (charted plus height of tide) and you’ve got more than one source to confirm where you are.
If you have radar, then use the Variable Range Marker (VRM) or parallel index lines to do the same thing, keep land/hazards out of a safe zone around the boat – think of it as your ‘bubble’.
Identifying safe areas and hazards
So we’ve got the plan and checked the chart. Out in the real world it looks different! Buildings and vegetation on land, background lights at night; we’ve all spent many an hour identifying navigation lights only to see them drive off!
Planning what you’re expecting to see is important. There are not many markers and having a handy guide at hand on board will always help. Through your planning you’ve identified the hazardous areas, now you need to understand buoyage to identify the safe areas.
Lateral Marks
Red cans (Port) and Green cones (Starboard) identify the channels in/out of harbours.
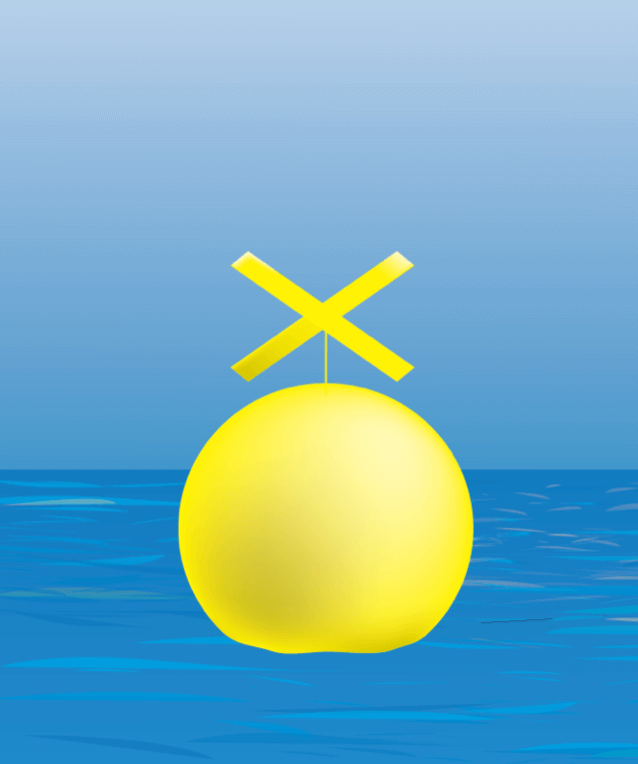
Special mark - These marks indicate a special area or feature,
In New Zealand we have IALA system A, which means on entering harbour, keep ‘red to red, green to green’ (boats have red lights on the port side and green to starboard) and travel on the Starboard (right) side of the channel- this is due to when two power driven vessels approach head on, they both give way to starboard. By being on the Starboard side, vessels pass ‘Port to Port’.
Also, within Harbour limits in NZ, vessels less than 500GT shall not impede the passage of a vessel over 500GT. Remember: ‘might has right’ in this case. But you still need to know where your harbour limits are – it will be on the chart/harbour bylaws.
When leaving port, you are still on the starboard side of the channel, however the reds are to your starboard and greens to port.
Worth mentioning why we still use port and starboard and not left and right- a common question. Port and starboard are in reference to the vessel and do not change. If you turn and face the rear (stern) of the boat your reference has changed – port is now on your right side but is still the port side of the boat. No matter which way you are facing, port is port and starboard is starboard.
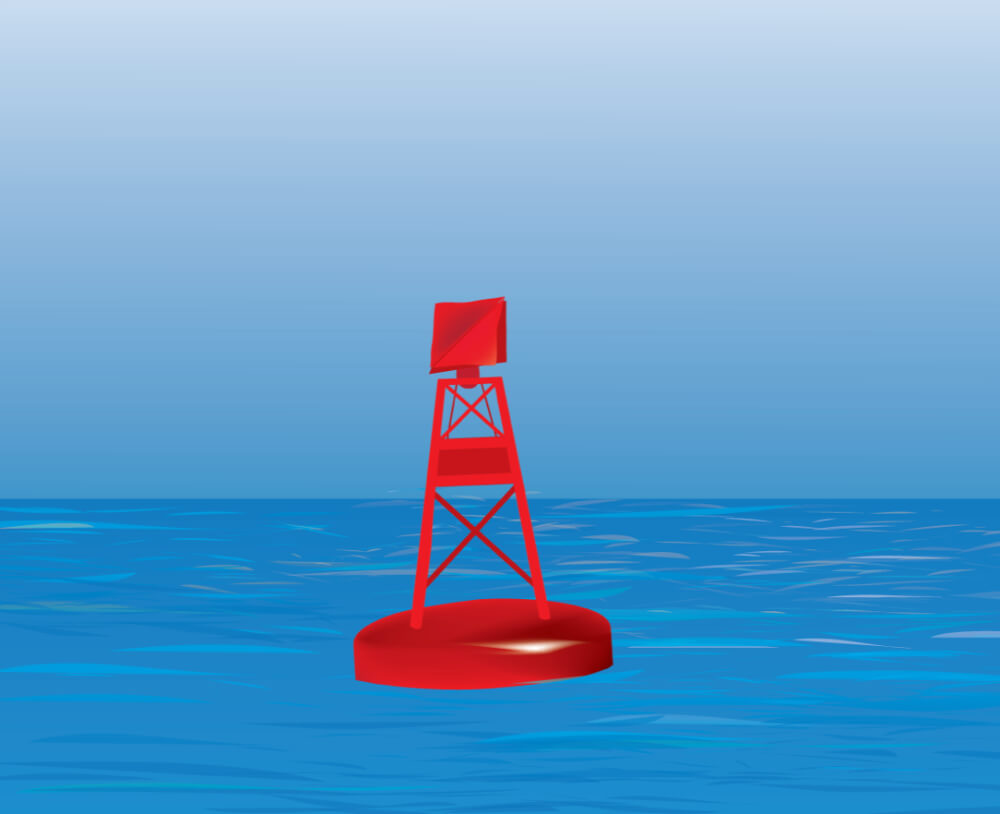
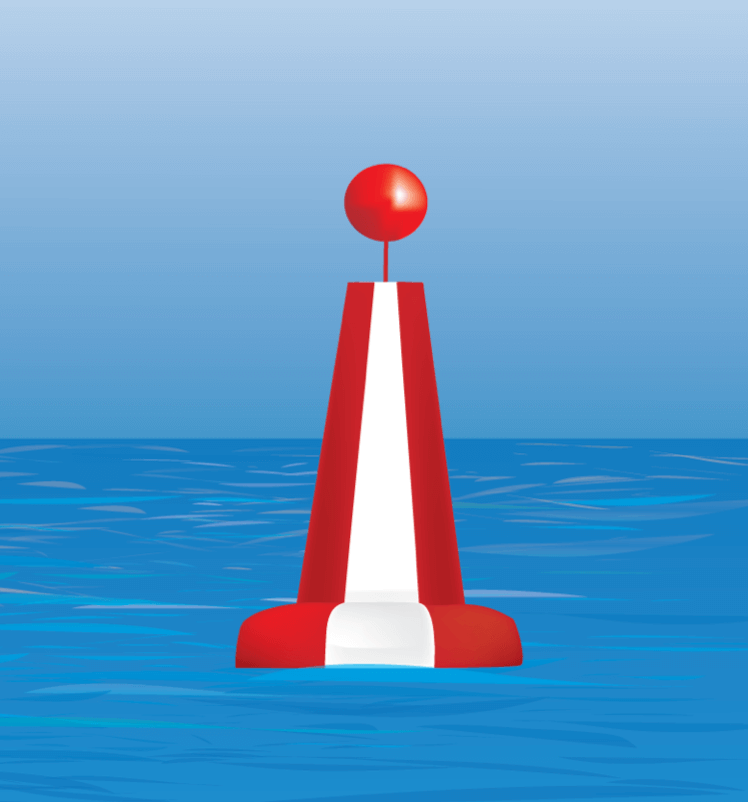
Safe water marks - These marks identify an area that has navigable water all around it but do not mark a danger
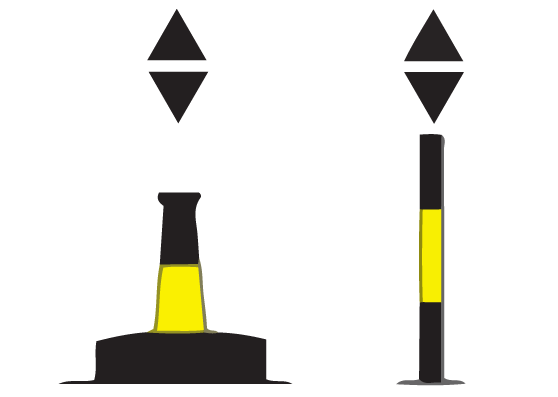
Cardinal Marks
These show where the safe water is around a hazard. All of them have
2 triangles and they flash a white light at night which coincides with a clock face
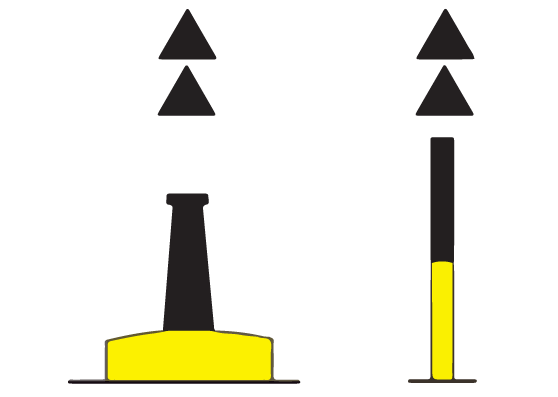
North – both pointing North (up)- constant flashing (or 12 repeating with no pause)
East- Easter Egg- Flashing 3
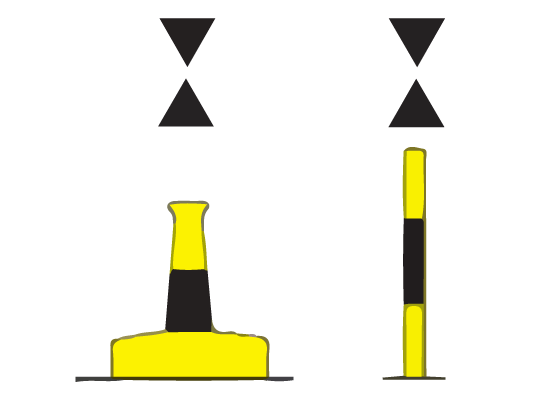
South- both pointing South (down)- Flashing 6 (plus 1 long flash- so it
doesn’t get confused when you can’t see all the flashes, maybe due to a wave)
West- pointing in- looks like a sideways ‘W’- Flashing 9
Also, if you can’t make out the topmark, the triangles point to the black stripe/s on the pile – have a look and see – clever stuff eh!?
Remember your trusty compass? It’s your best tool for keeping situational awareness. Remember a cardinal tells you where safe water is, so head to the North of a North Cardinal.
Other marks you should know.
Isolated Danger Mark – this indicates a danger with safe water all around.
Special marks – 5 knot zones, various zones
Safe Water marks show navigable water all around, and can be a useful landfall mark.