“There is nothing – absolutely nothing – half so much worth doing as simply messing about in boats.” – Ratty, The Wind In The Willows, Kenneth Grahame.
If, like me, you have taken Ratty’s famous quote to heart and have been messing about in boats for most of your life, you have come to know boats pretty well. You have spent a lot of time cleaning them, maintaining them and investing a large proportion of your disposable income in them.
But what actually goes into building a modern trailer boat?
As this fine publication is dedicated to the world of Power Boats, we thought we would pay a visit to one of New Zealand’s pre-eminent trailer boat builders, Denis Kendall and his highly experienced team at Haines Hunter.
Haines Hunter grew out of SeaCraft. SeaCraft, founded by ‘Sandy’ Sands in 1946 and carried on by Sandy’s son, Lionel, were originally clinker-built timber boats. In the 1960s, they transitioned to fibreglass, and in the 1980s, they purchased the Haines Hunter brand for New Zealand. Lionel built Haines Hunter into one of New Zealand’s top GRP (Glass Reinforced Plastic) boat brands, with Denis joining the management team in the 1990s, subsequently becoming the owner and CEO.
Denis has very generously given us unfettered access to his factory and the building of one of his SP635 Sport Pursuit boats.
SP635 Specifications:
Hull Length: 6.35m
Overall Length: 6.76m
Beam: 2.34m
Dry weight: 1,800kg
Deadrise: 21°
Recommended HP: 150-200hp
Fuel Capacity: 190L
Max People: 6
Full review: https://powerboatmagazine.co.nz/haines-hunter-sp635/

The Haines Hunter SP635:
Haines Hunter produces trailer boats with hulls ranging in length from 4.85m Sport Fisher to 7.25m Overland Pursuit (an amphibious boat using the Anura amphibious system).
The boat we followed during its construction is an SP635 Sport Pursuit. The Sport Pursuit range consists entirely of hard tops, with the 635 featuring a completely redesigned hull that incorporates a different bow entry and reverse chines, while maintaining the 21-degree deadrise that provides the great ride for which Haines Hunter is renowned.
Before any resin is mixed, the ‘Build Form’ is filled out. This is the master list detailing every aspect of the build, from the colour of the hull stripe and the size of the motor to every optional extra or custom feature the client has ordered.
Then the work begins. Haines Hunter divides the boat build into teams. First up is the lamination team. Their job is to fabricate all the major composite components that come together to make a complete boat. Essentially, each boat is made up of two to three major components – hull, deck and hard top (the SF range is soft tops with just two components). The lamination team are also responsible for producing all the ancillary components required to complete the build. This includes hull strengthening, stringers, bulkheads, dash panels, live bait tanks, tuna tubes, anchor and storage lockers, etc, etc.
One Man, One Boat:
Before we delve into the nitty-gritty of how Haines Hunter builds their boats, I need to mention their one-boat, one-person production system. Once the main structural components are assembled, one person takes responsibility for bringing that boat to completion. So, although these are technically production boats, they are individually hand-built by skilled artisans who take great pride in crafting high-quality boats.
The Hull – Where it all begins:
Highly polished moulds are used to construct the components for the boat. The first step in building the hull is to spray a layer of gelcoat. Gelcoat not only gives the hull its colour but also provides a hard, protective outer layer that offers years of durability.
The black topside strip is also gel-coat and is applied after the hull’s white gel has been applied and has dried.
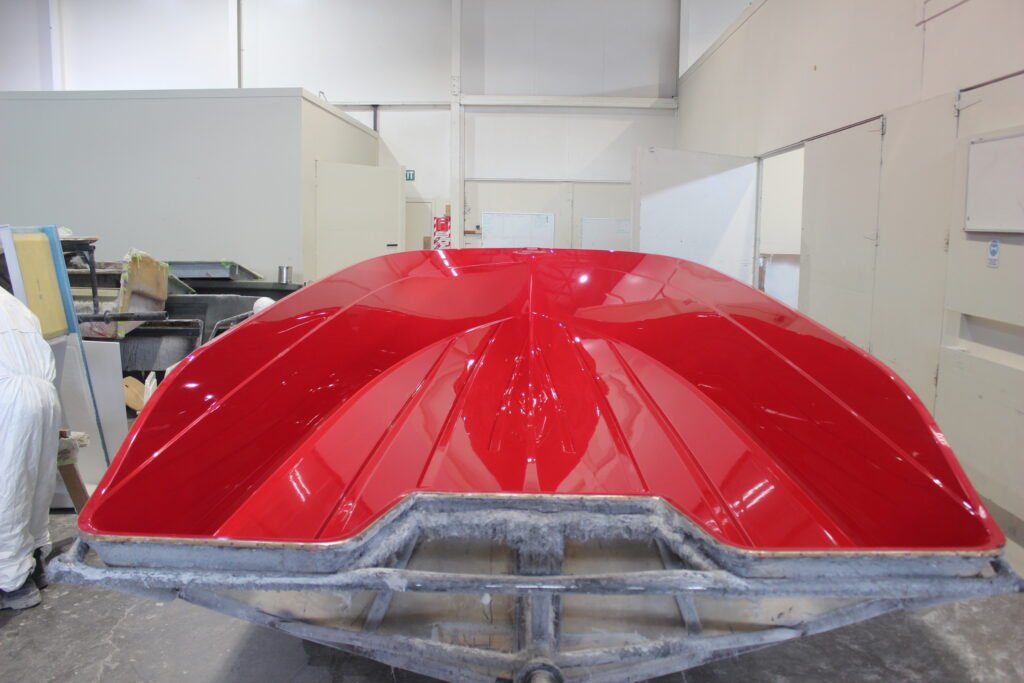
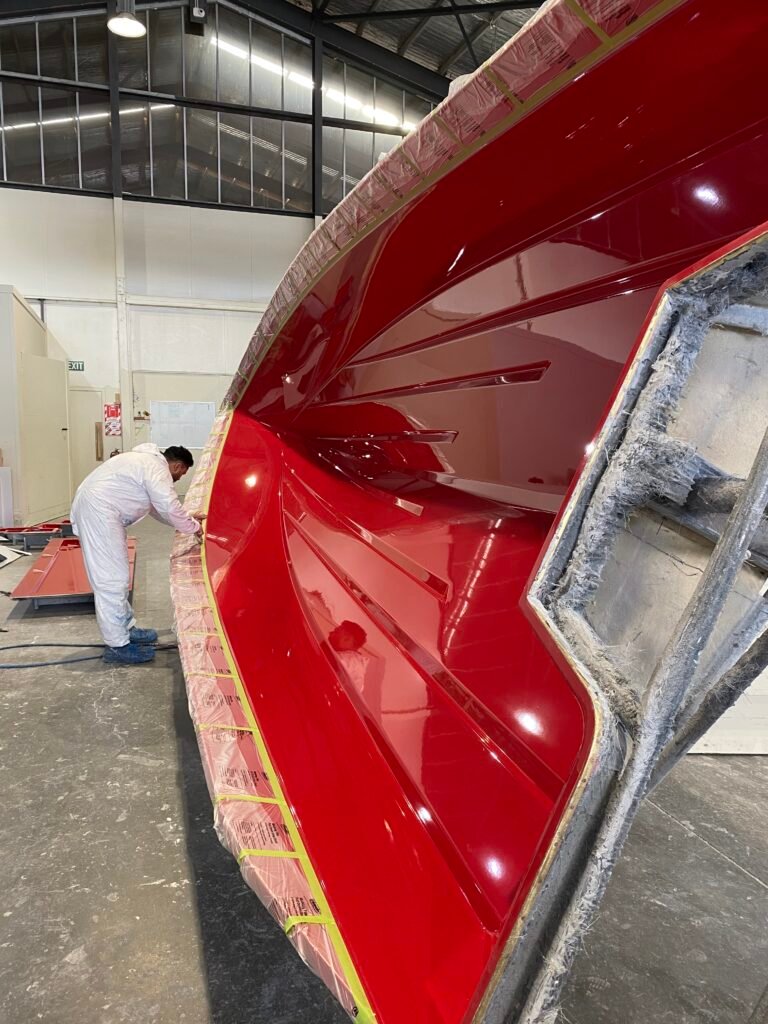
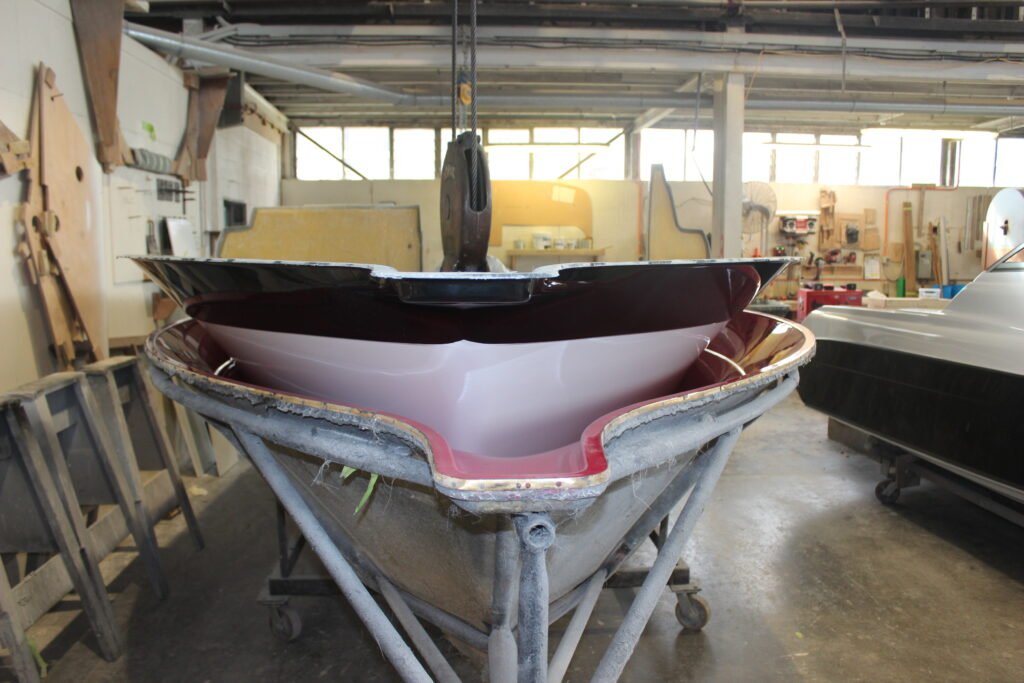
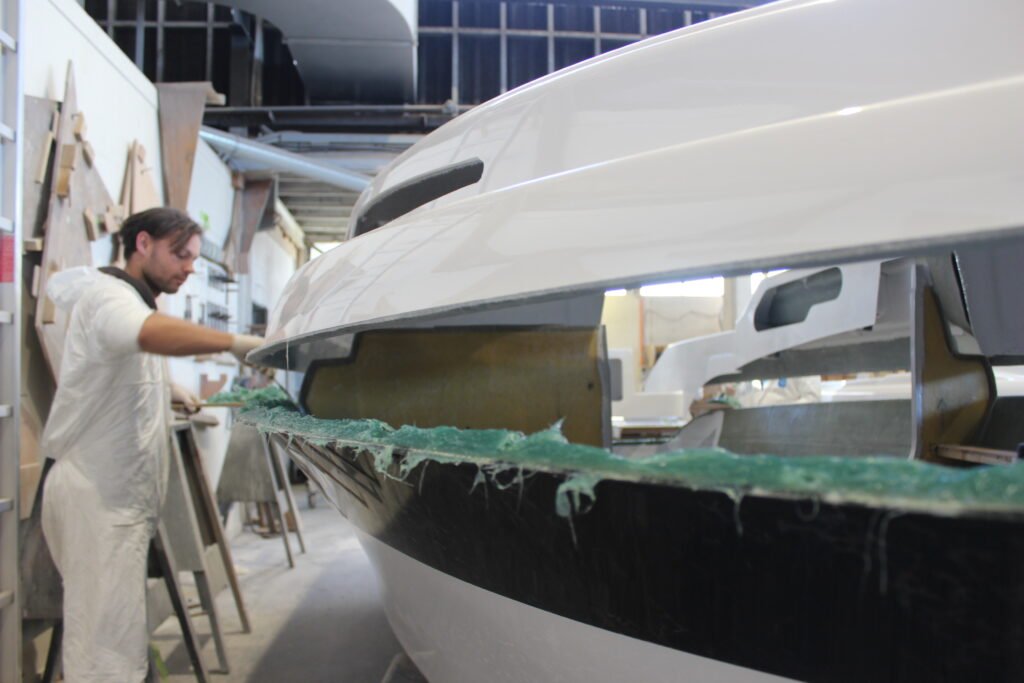
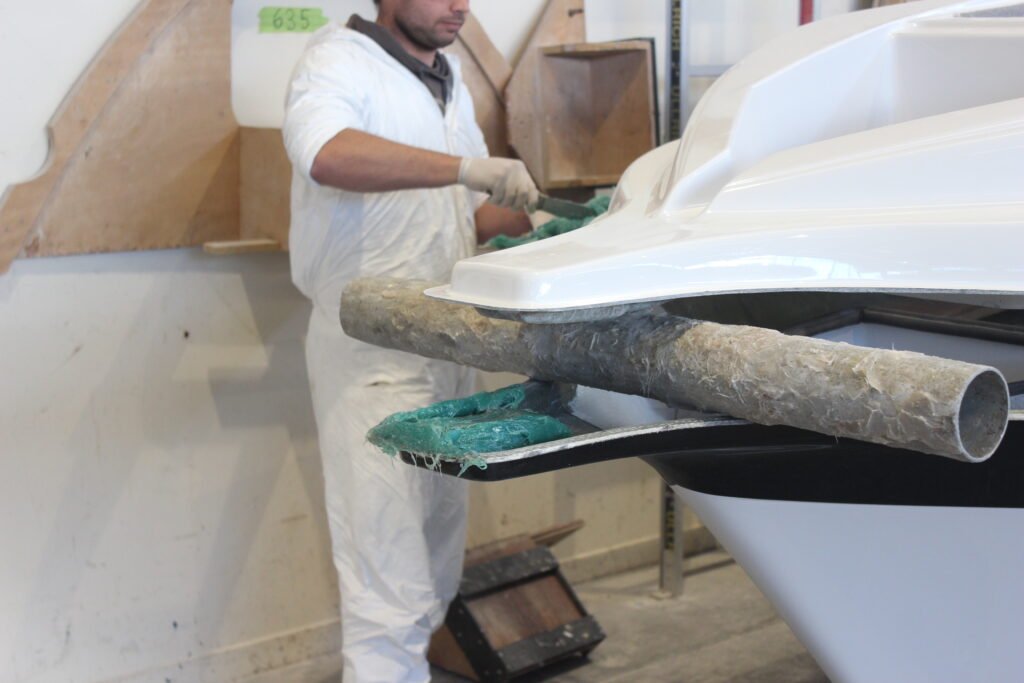
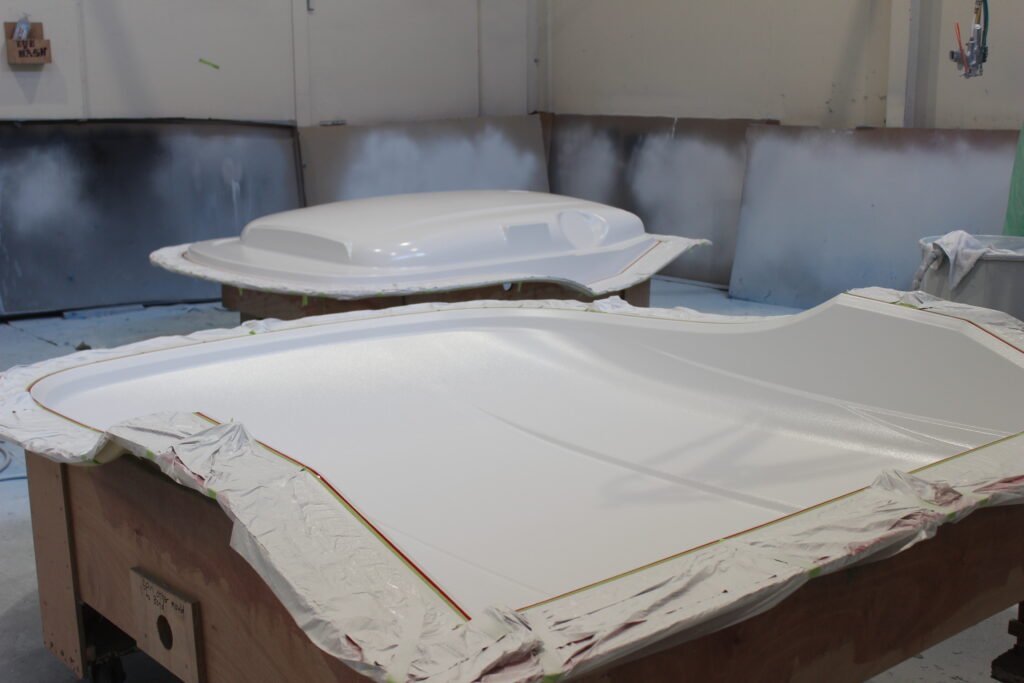
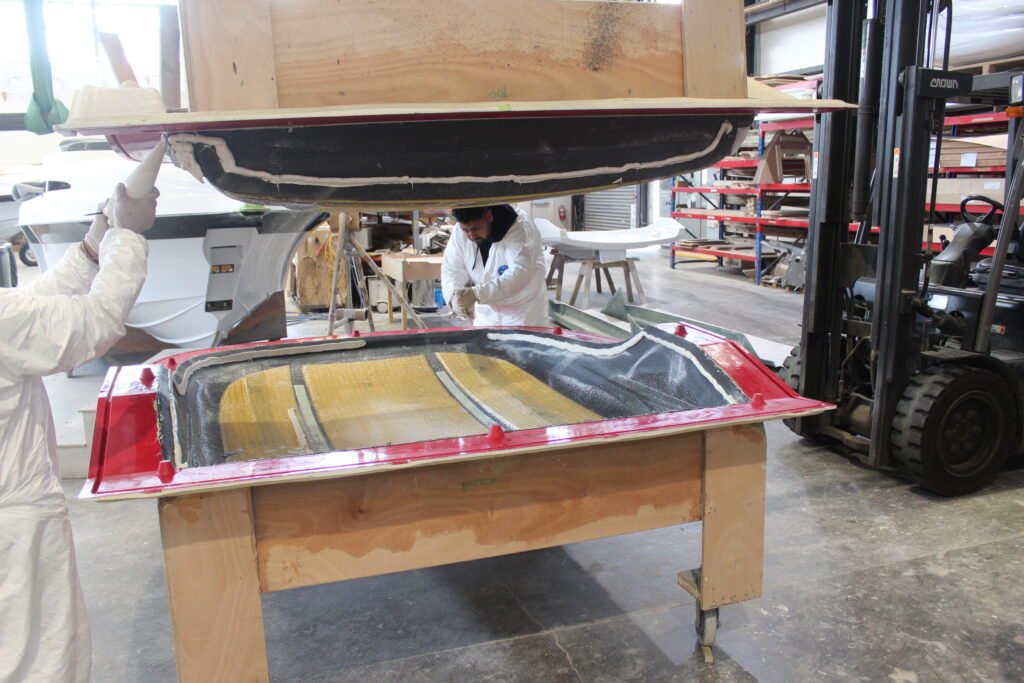
Following the gelcoat are two GRP layers. The hull is hand-laid; in other words, fibreglass and resin are applied by hand. This is a time-consuming process, but it results in superior strength, rigidity, longevity, and a lighter boat compared to production boats not constructed in this way.
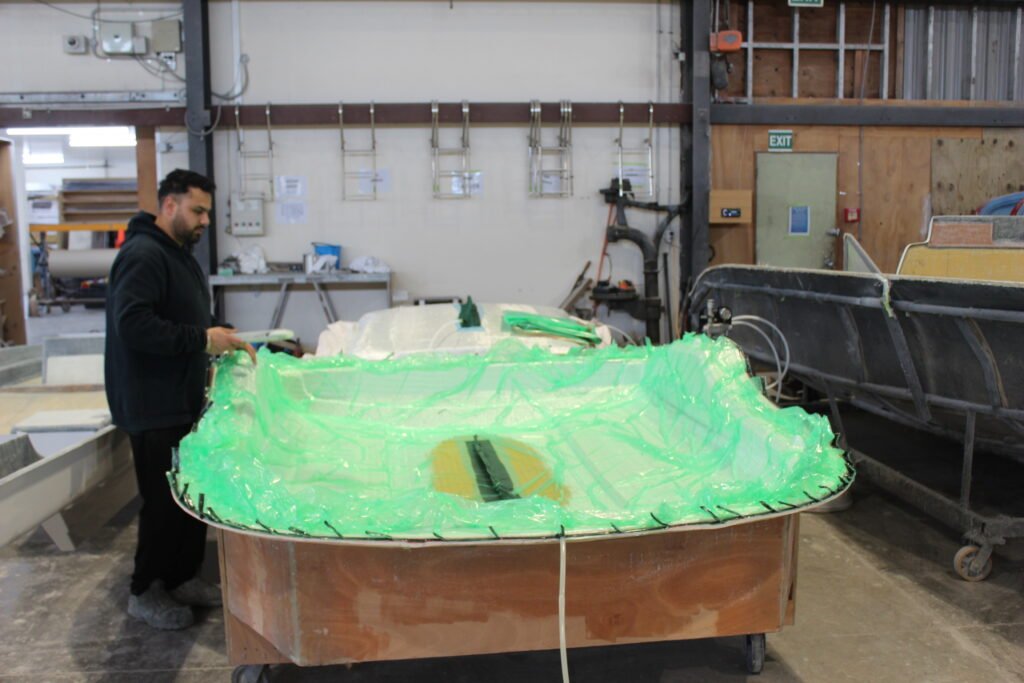
The first laminate layer is glass cloth that is “squeegeed” as it is applied. This is the process of using a squeegee to compress the laminate, forcing the cloth to conform to the mould’s shape and removing excess resin. This results in the optimal laminate-to-resin ratio, as the strength is in the fibres, not the resin.
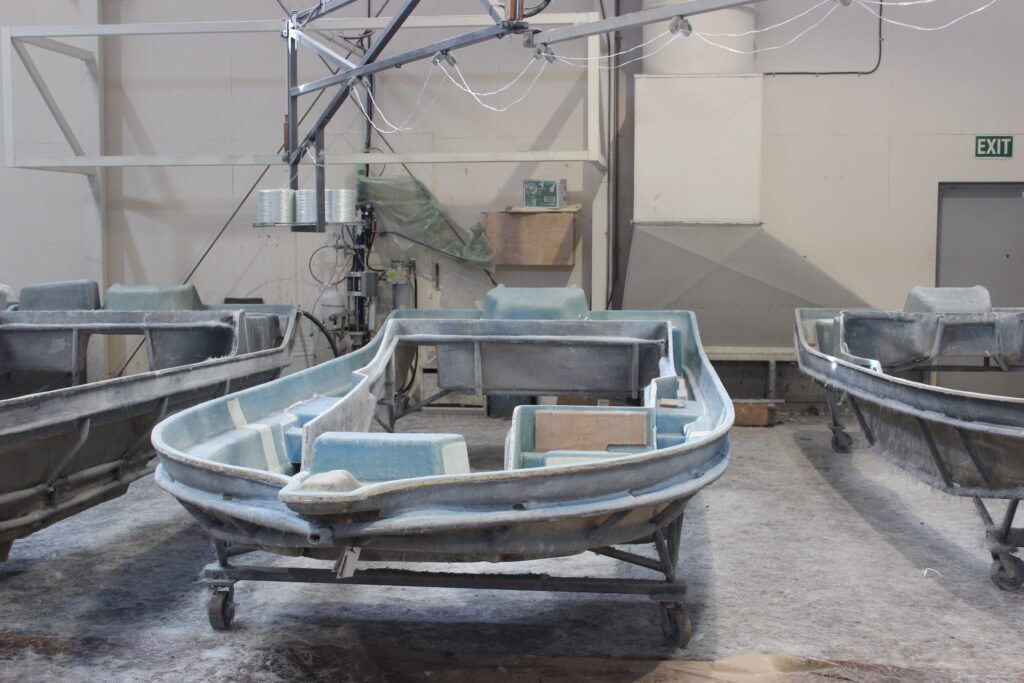
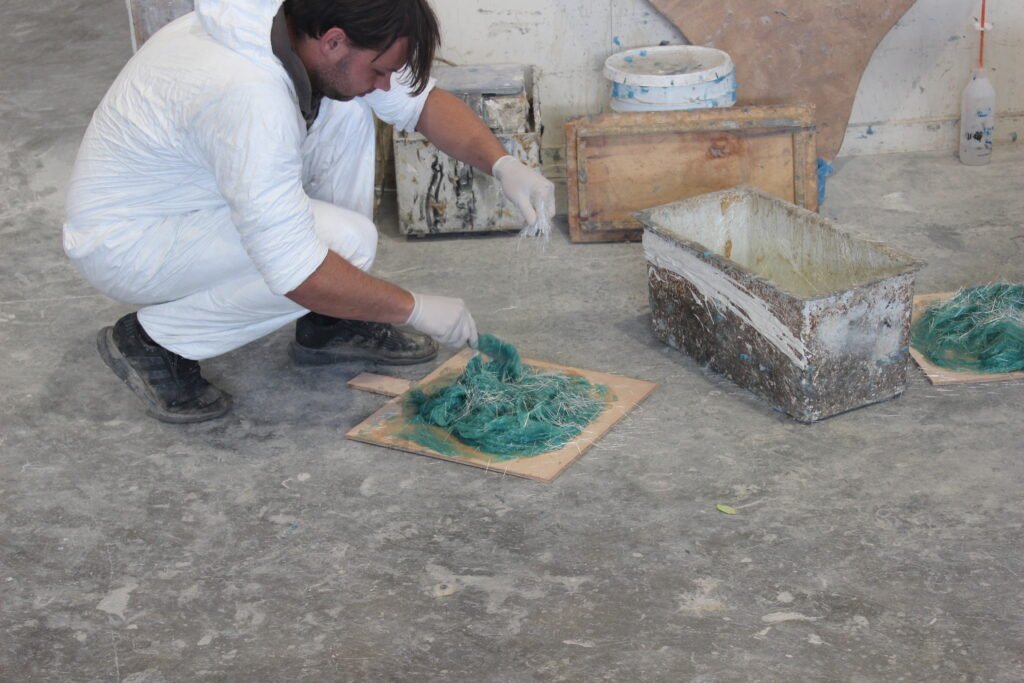
The second layer is a layer of chopped strand mat. Made up of thousands of short, randomly oriented, glass fibre strands. It reinforces the hull skin, bringing it to the required thickness, as per the design specifications.
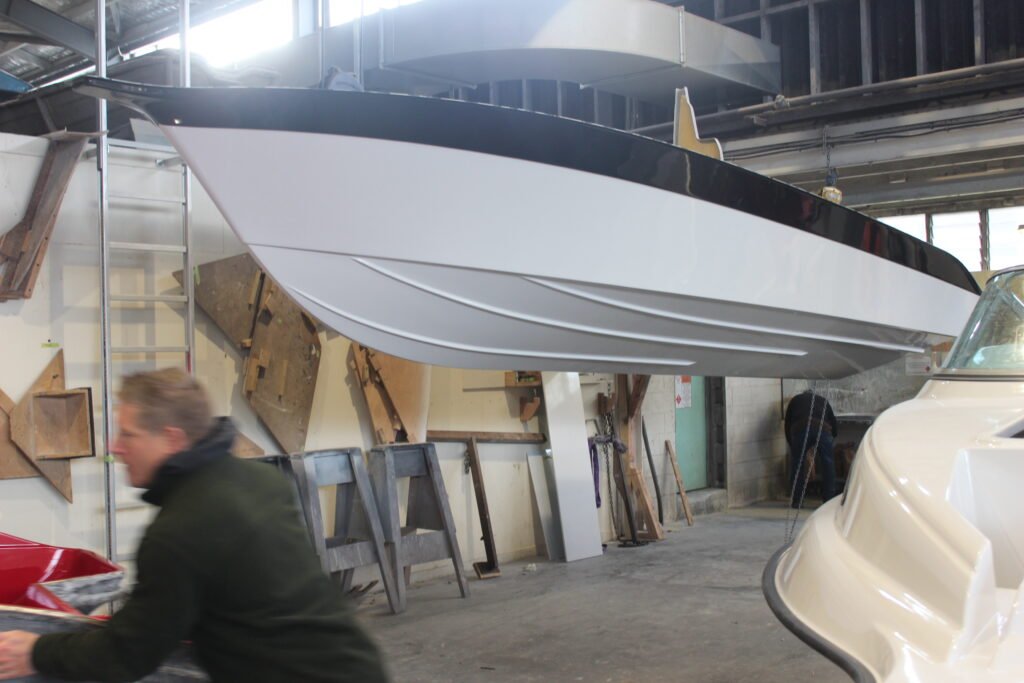
The amount of fabric used is the same for every boat; it is a measured quantity that ensures the optimum amount of resin is used (with no wastage) and that every hull meets its design weight. Being within design weight is important not only for on-water performance but also for towability.
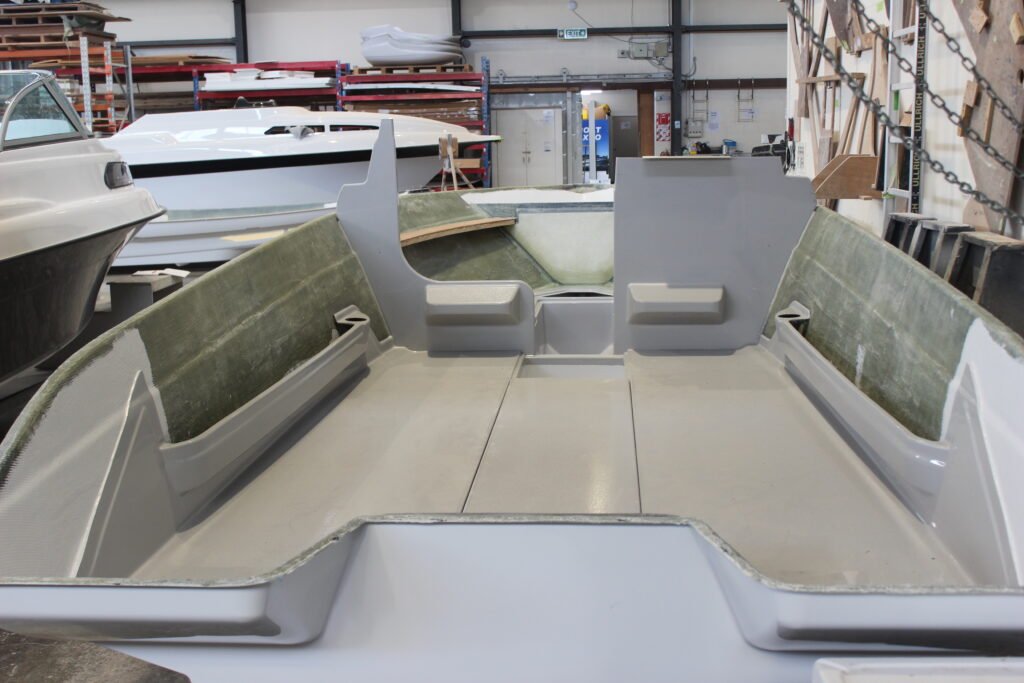
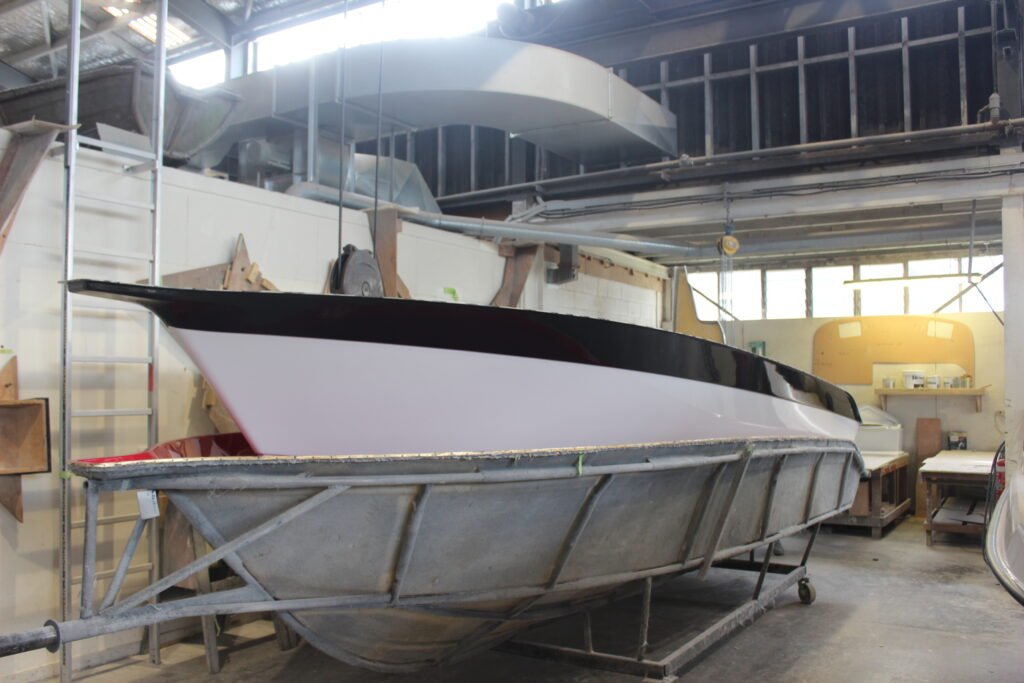
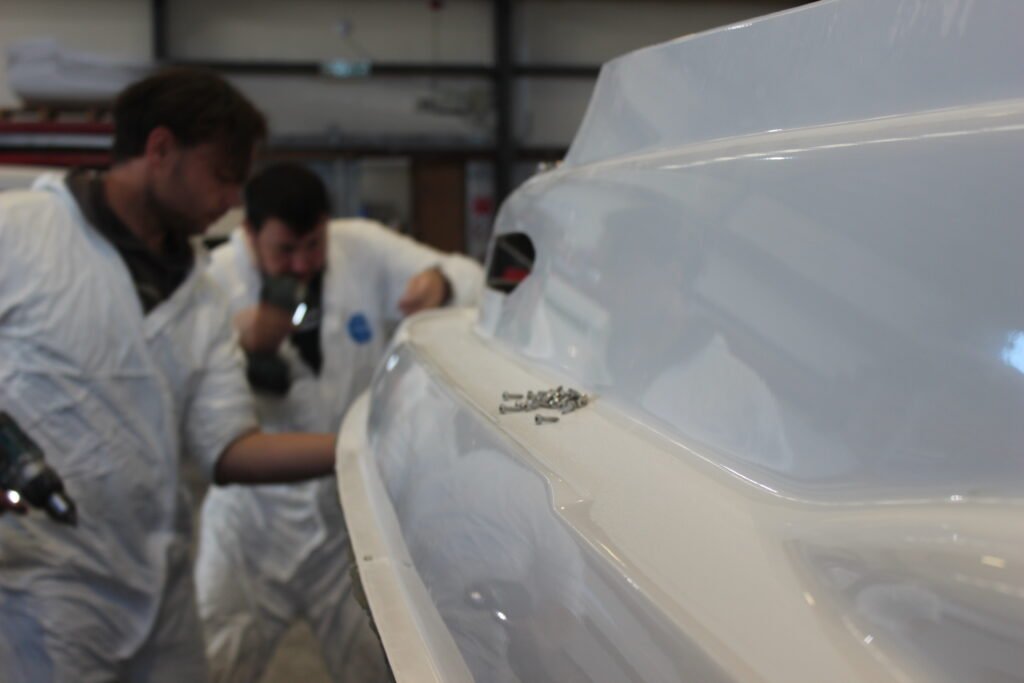
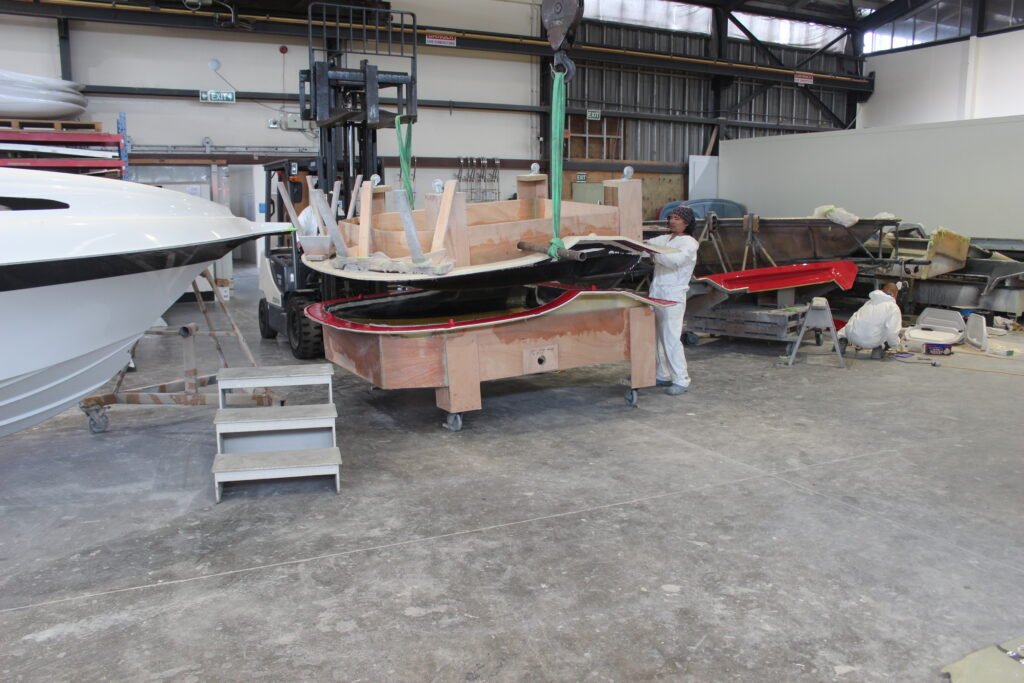
Next, the keelson, a strengthening structure that sits above the hull keel, and the transom are laminated into the hull. More hull strength is added with the installation of the stringers. Always looking for ways to improve and take advantage of technological developments, the stringers are made with Thermo-lite, a lightweight composite product. They are CNC cut and glassed in.
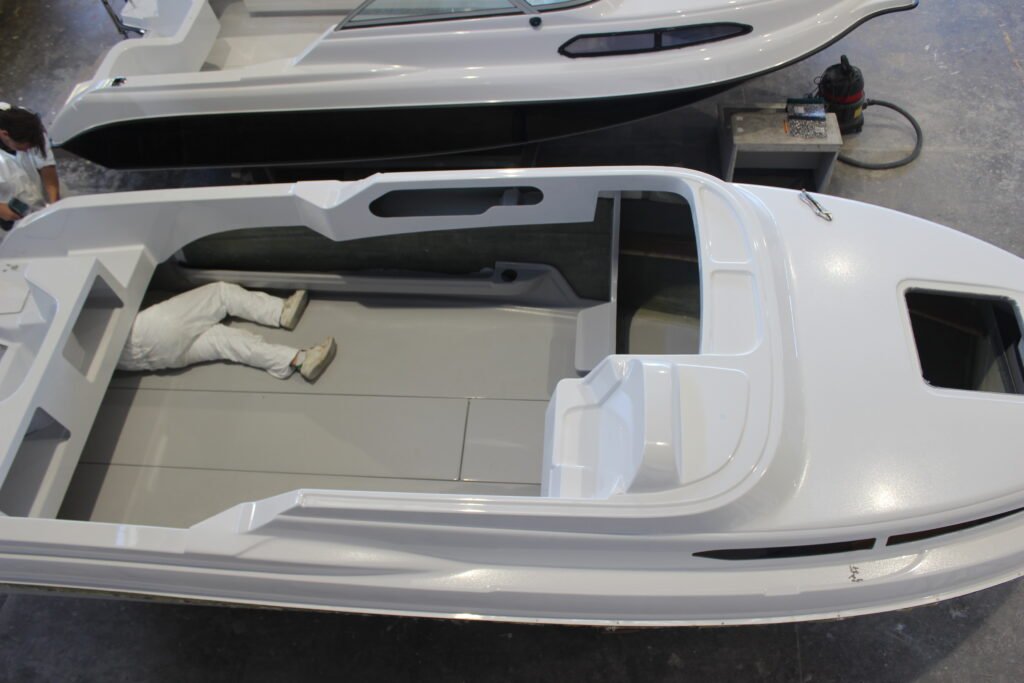
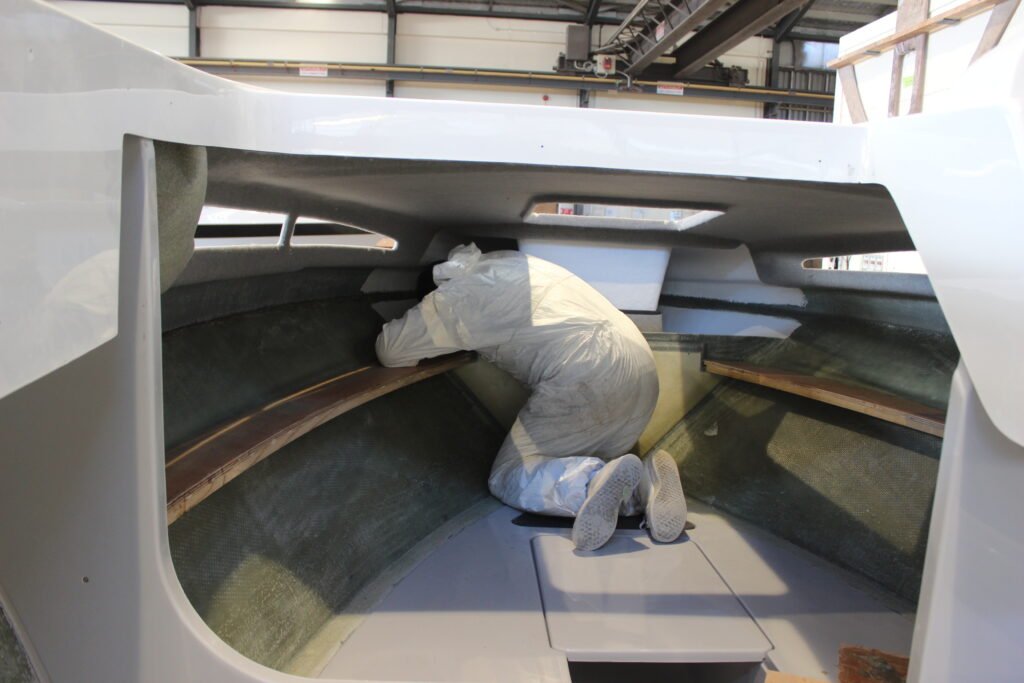
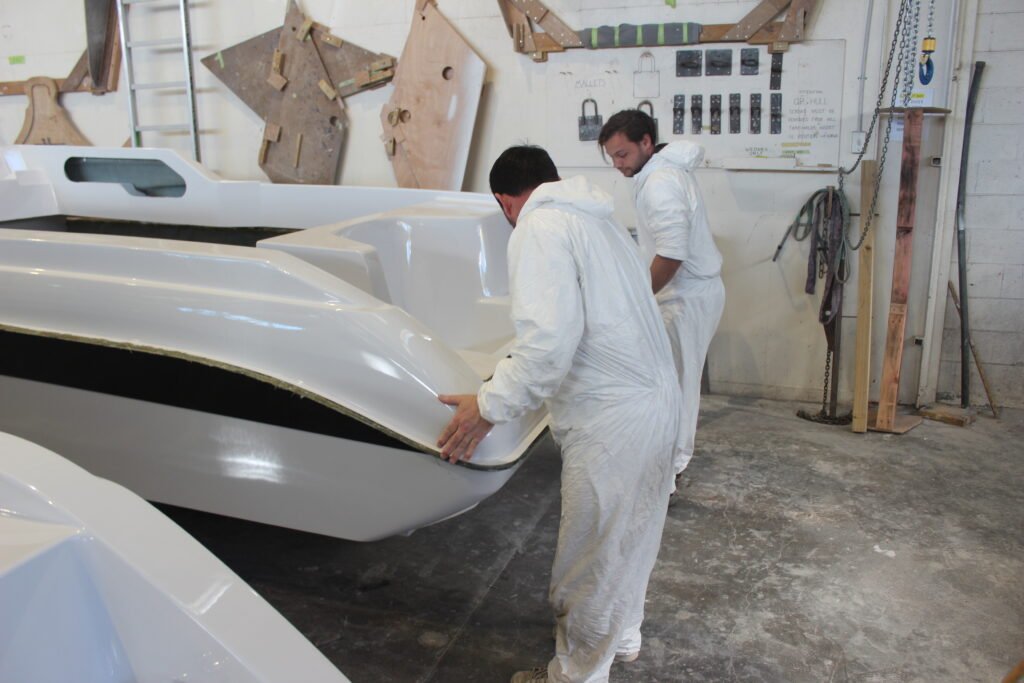
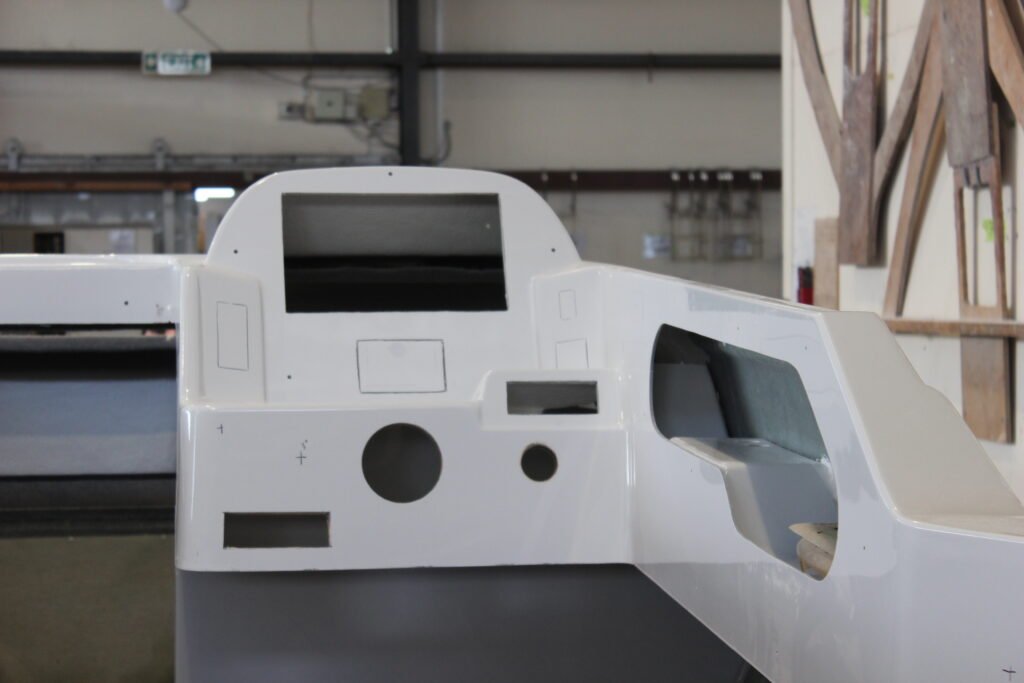
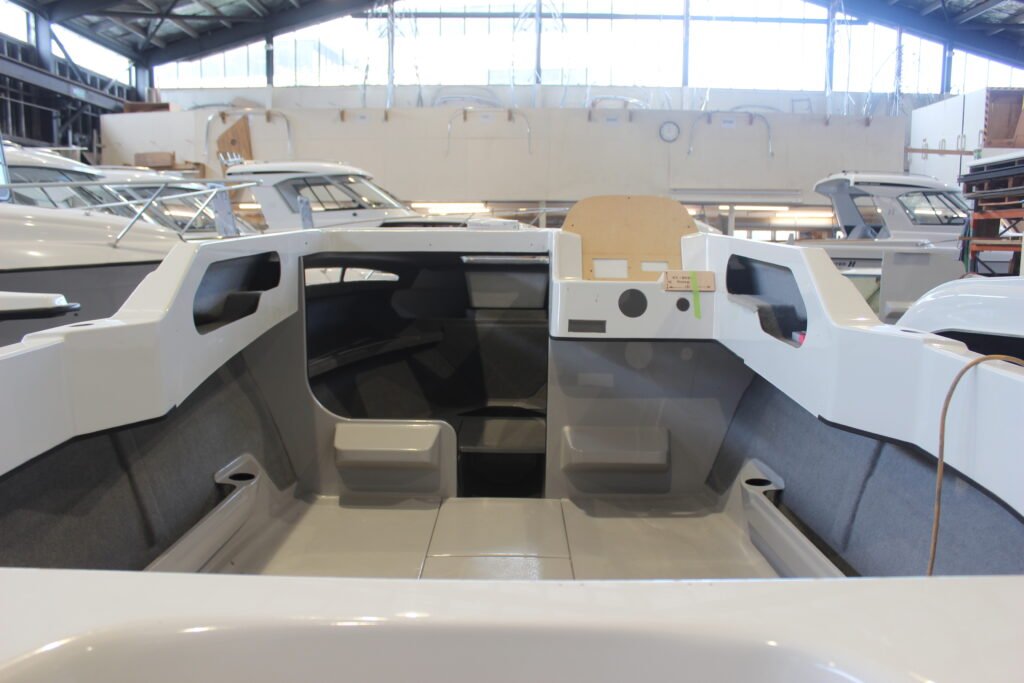
Following the completion of the hull, the cabin bulkhead and soles are installed. Once again, Haines Hunter has moved with the times, using foam core composite construction. Not only does this glass-foam-glass sandwich make the boat stronger, lighter and faster, it also improves strength, rigidity, durability and is more accurate – it does not warp or change shape. The foam components are supplied by Gurit Advanced Composites as kits, taking advantage of Gurit’s CNC cutting service to ensure every piece is 100% accurate.
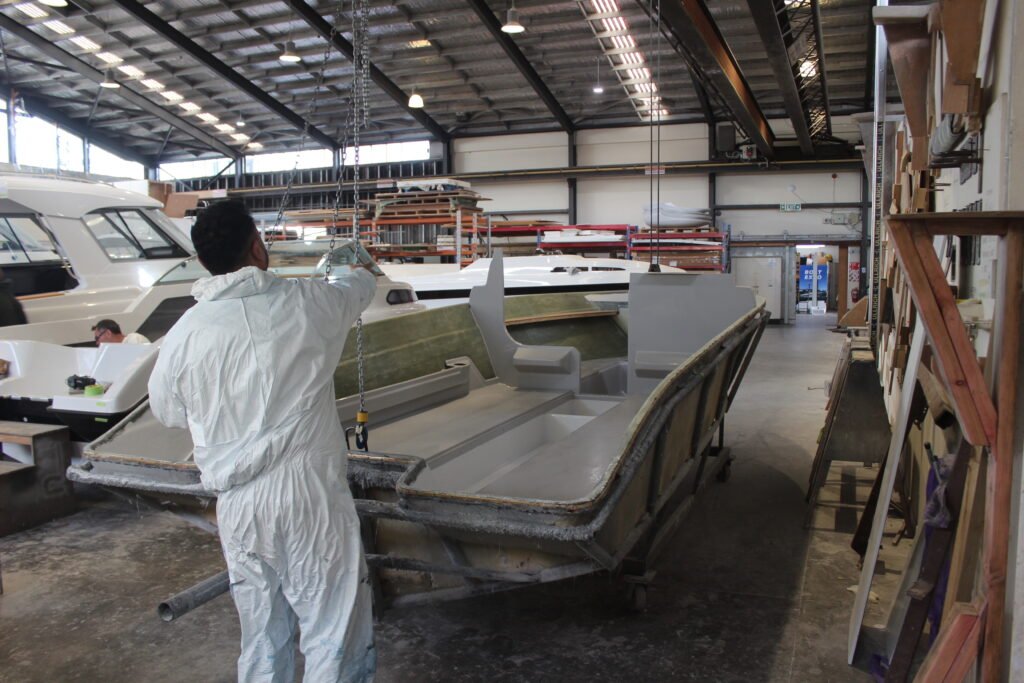
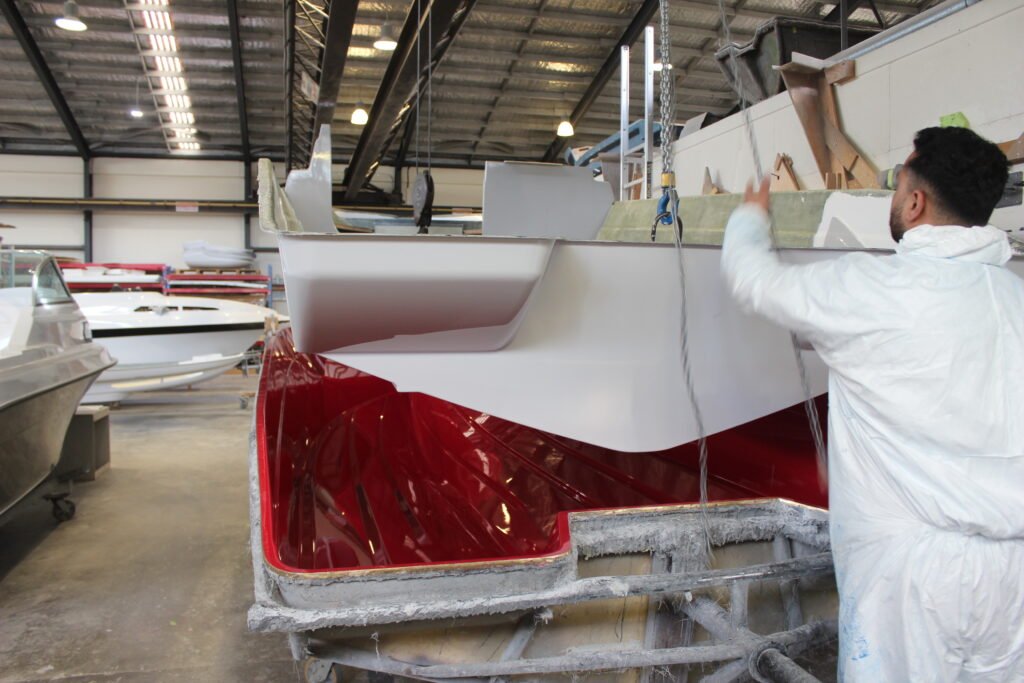
Safety first:
With safety always being top of mind, the soles are laminated to the hull, creating underfloor buoyancy chambers. This gives a great deal of peace of mind, as if in the unfortunate event that the hull is holed, the boat could take on water, but it won’t sink.
The floors are pre-made in a mould with a gel coat finish. The foam glass composite adds significant stiffness and rigidity to the boat, which in turn improves its performance.
“The benefit of a composite floor is that it adds a lot of stiffness, so the boat becomes stiffer, which helps with the performance because the stiffer the boat is, the better it will go.” Denis Kendall
The Deck:
The second major component is the deck. The deck, also a composite construction, incorporates carbon fibre reinforcements for additional strength in key areas.
The big reveal – the hull is removed from the mould: The hull and deck become a boat:
Once the soles, bulkheads and the interior structure are installed, it is time to pop the hull out of the mould. Surprisingly, this requires only one person. The following sequence of photos details the process – definitely a situation where a picture paints a thousand words.
The hull and deck become a boat:
The day before the hull and deck are bonded together, after the deck has been removed from the mould, the headlining is glued to the cabin roof. This is done prior to bonding to the hull, as it is much easier to install the headlining while the deck is still upside down.
Bonding the hull and deck is a job for two boat builders, ensuring the process is completed before the resin starts to cure.
The first step is to mix the resin and glass fibre strands to create the bonding mixture. The glass fibre reinforces the resin, adding a great deal of strength to the joint, almost as strong as if the hull and deck had been made in one piece.
The volume of resin required is a known volume. This ensures only enough is used to complete the job, keeping wastage to the absolute minimum.
Now it is all hands on deck, literally. Applying the glue efficiently and effectively takes a bit of skill: enough to ensure a proper bond, but not too much so it squishes out and gets on the pristine gelcoat hull.
In addition to bonding the hull and deck, the resin mix is used to strengthen the bow anchor fairlead mounting point and the motor mounting section in the transom.
Once the resin mix has been applied, it is time to bond the two sections. The deck is lowered into position and screws are temporarily used to clamp them together. The screws are removed once the glue has cured and the holes are then filled.
The penultimate step of the process is to clean up the join, remove the excess resin mix and check for and fill any voids. This is done on both the exterior and interior of the boat.
The boat is then left to fully cure for 24 hours. While the resin cures, the various holes for instrument panels, steering wheel assembly, motor mounts, fishing rod holders and so on are laid out and cut.
The final step in the hull-to-deck bonding process is adding the fender strip. As the fender strip is made from a very durable rubber, it needs to be made pliable so that, during installation, it can conform to the various compound and concave curves that make up the exterior perimeter of the boat. This is achieved by softening it in a bath of very hot water. I was pleasantly surprised to find out that the hot water bath is, in fact, the old, wood-bending steam box from back when SeaCraft built wooden boats. This is a lovely piece of continuation history.
To help the fender strip lock into place, two small grooves are routed into the hull/deck joining flange prior to the fender strip being installed. These allow the two corresponding tabs, moulded into the inside of the fender, to lock onto the flange. These grooves, combined with the epoxy mortar used to bond the strip onto the flange, make the fender strip almost impossible to remove. As with everything on a Haines Hunter, it is the little details that make the biggest differences.
Installing the fender strip is a physically demanding process that requires a team of three. One person is out in front, holding the fender strip and stretching it slightly. This helps the fender conform to the boat’s shape, resulting in a tight, neat fit. The second person uses a specialist tool, made in-house, to push and lock the fender into place. This tool is decades old and has been polished to a high shine purely from all the boat builders who have used it.
The third person follows along, applying temporary tape to hold the fender strip in place in areas where it naturally resists conforming while it is hot and flexible.
The end of the beginning:
The final step of the initial build stage is to install the interior liner to the rest of the boat – if you recall, the cabin roof liner has already been installed.
The Cabin Top:
The SP635 features a hard top cabin, which is also a composite component. To minimise the mass the boat carries above the waterline, the hard top is made with a carbon-fibre skin.
The mould has two parts – the top and the bottom. The process is essentially the same as the hull. First, the gel coat is sprayed into the top section of the mould. Then, the top layer of carbon fibre cloth is laid up, followed by the pre-cut foam core panels. This is then vacuum-infused to ensure the foam and carbon fibre cloth are completely bonded together, keeping the resin used and, thus, the weight within the specified design parameters.
Simultaneously, the bottom mould receives the gel coat, carbon fibre cloth, foam panels and vacuum infusion treatment.
Once the infusion process is completed and the two sections have cured, they are ready to be bonded together. The glue is applied to the appropriate areas on each section, then the bottom skin is lowered into the top section. Clamps are then used to lock it together, making sure the two sections are perfectly aligned, giving the best possible bond.
The Finishing Stretch:
While the cabin hard top is curing, it is time to install the windscreen, sliding side windows, and hard top, as well as the carbon support pillars.
To ensure accuracy, a mounting frame is used to position the hard top. But even with the frame, this is still a job that requires multiple hands to make the process as efficient as possible.
The fore cabin sidelight windows are installed at this stage of the build, as is the anchor locker hatch. The excess silicon sealer around the windows is trimmed to a flush fit once it has dried.
Once the hard top is installed, the sliding side windows are fitted. You will notice a rebate in the support pillar. This neat design element allows the sliding window to open fully; otherwise, it would be no more than a vent. The support pillars double as cable routing conduits for the cabin’s LED lighting and Fusion sound system speakers. Once all the electronics are installed, the side pillars are finished off with exterior and interior white, gel-coated GRP side covers, providing a very clean finish.
With the installation of the side windows, the main structure of the boat is now complete. Now it is down to installing all the componentry and finishing details. As is the case with all complex machinery builds… 90% done and 90% to go.
Finishing touches:
Now that the SP635 is a complete boat, its finishing details, brightwork, and electronics can be installed.
Once the upholstered cockpit and fore cabin side panels are installed, the boat quickly progresses from a bare hull to looking like the finished article. Unusually, upholstery for the side panels is done by the boat builder, highlighting the multiple skills Denis’ team have.
A nice detail is the teak combing on the cockpit side deck. Hand-made by the boat builder, the combing is given two coats of teak sealer and a wax finishing coat to enhance its lustre.
Although the boat builders are responsible for the upholstery on the side panels, Haines Hunter has a full, in-house upholstery studio. Once the boat is about halfway through construction, the upholstery team begins work on the seats and cabin squabs, ensuring they are ready as soon as they are needed on the boat. Their workmanship is first-rate.
The Haines Hunter SP635:
And here she is. Fully finished and ready for a lifetime of fun and adventures and hopefully a few fish to boot.
This one is powered by a Yamaha 200, giving a reported max speed of 45 knots. The minimum recommended horsepower for the 635 range is 150hp.
The helm features a 12-inch Simrad MFD, C-Zone switching, Zipwake trim system, Fusion Bluetooth stereo, and a Uniden VHF radio.
A DMW trailer is included in the package. Tandem axled and braked, the boat and trailer have an overall length of 7.5m (motor tilted) and a width of 2.4m.
So that is how you build a Haines Hunter GRP boat. Great design, lots of skill and hard work.
Finally, a big thank you to Denis, Chris, Luke and the team at Haines Hunter. They were very welcoming and had no issues at all with me getting in the way or asking silly questions.
